
Notice
Recent Posts
Recent Comments
Link
| 일 | 월 | 화 | 수 | 목 | 금 | 토 |
|---|---|---|---|---|---|---|
| 1 | 2 | 3 | 4 | 5 | 6 | |
| 7 | 8 | 9 | 10 | 11 | 12 | 13 |
| 14 | 15 | 16 | 17 | 18 | 19 | 20 |
| 21 | 22 | 23 | 24 | 25 | 26 | 27 |
| 28 | 29 | 30 | 31 |
Tags
- matplotlib
- sql연습하기
- 파이썬데이터분석
- 주피터노트북맷플롯립
- 판다스데이터분석
- 파이썬시각화
- sql따라하기
- python알고리즘
- python데이터분석
- sql연습
- SQLSCOTT
- 주피터노트북판다스
- SQL
- 파이썬데이터분석주피터노트북
- 판다스그래프
- 맷플롯립
- SQL수업
- 주피터노트북그래프
- 파이썬크롤링
- 파이썬수업
- 주피터노트북데이터분석
- python수업
- Python
- 파이썬차트
- 팀플기록
- 파이썬알고리즘
- 데이터분석시각화
- 주피터노트북
- 수업기록
- 파이썬
Archives
- Today
- Total
IT_developers
Python RPA(업무자동화) 개념 및 실습 - 엑셀(1) 본문
RPA(Robotic Process Automation)
- 웹, 윈도우, 어플리케이션(엑셀 등)을 사전에 설정한 시나리오에 따라 자동적으로 작동하여 수작업을 최소화하는 일련의 프로세스
- RPA 사용 소프트웨어
- Uipath, BluePrism, Automation Anywhere, WinAutomation
- RPA 라이브러리
- pyautogui, pyperclip, selenium
라이브러리 설치 : pip install openpyxl

예제 참고 : https://openpyxl.readthedocs.io/en/stable/
openpyxl - A Python library to read/write Excel 2010 xlsx/xlsm files — openpyxl 3.0.10 documentation
Install openpyxl using pip. It is advisable to do this in a Python virtualenv without system packages: Warning To be able to include images (jpeg, png, bmp,…) into an openpyxl file, you will also need the “pillow” library that can be installed with:
openpyxl.readthedocs.io
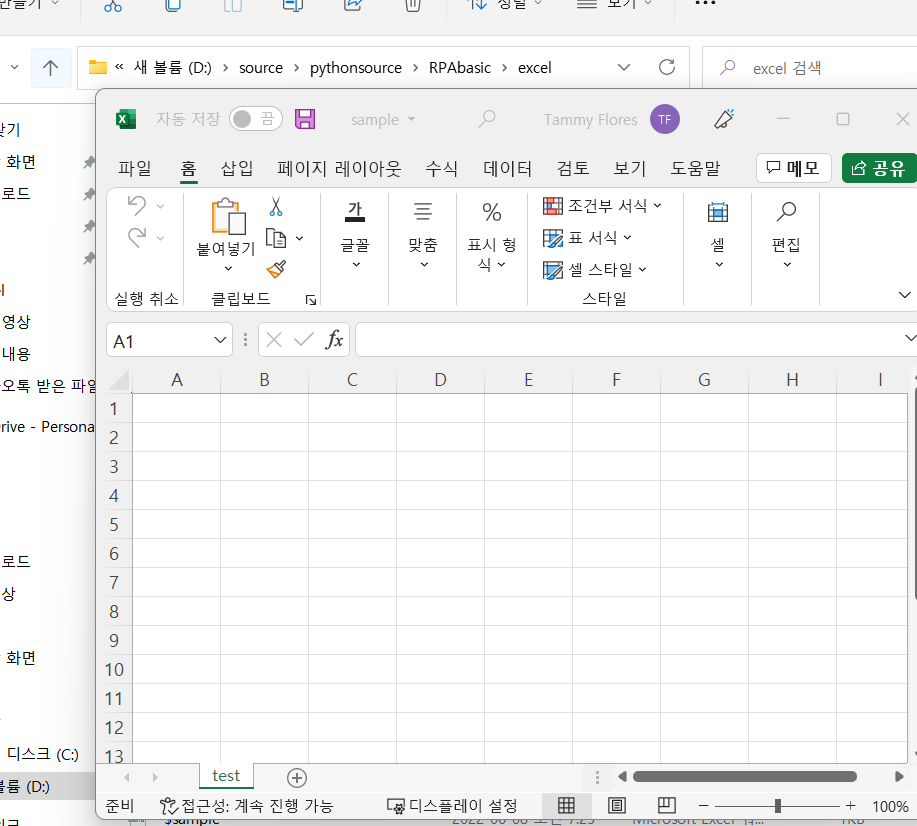
RPAbasic\excel 폴더 - 1_create_file.py
# 라이브러리
from openpyxl import Workbook
# 엑셀 파일 생성
# 1) 새 워크북 생성
wb = Workbook()
# 2) 현재 활성화 된 시트 가져오기
ws = wb.active
# 3) 워크 시트 이름 변경
ws.title = "test"
# 워크북 저장 == 파일 저장("파일 이름")
# . : pythonsoruce
# 지정하지 않으면 pythosoruce에 저장
wb.save("./RPAbasic/excel/sample.xlsx")

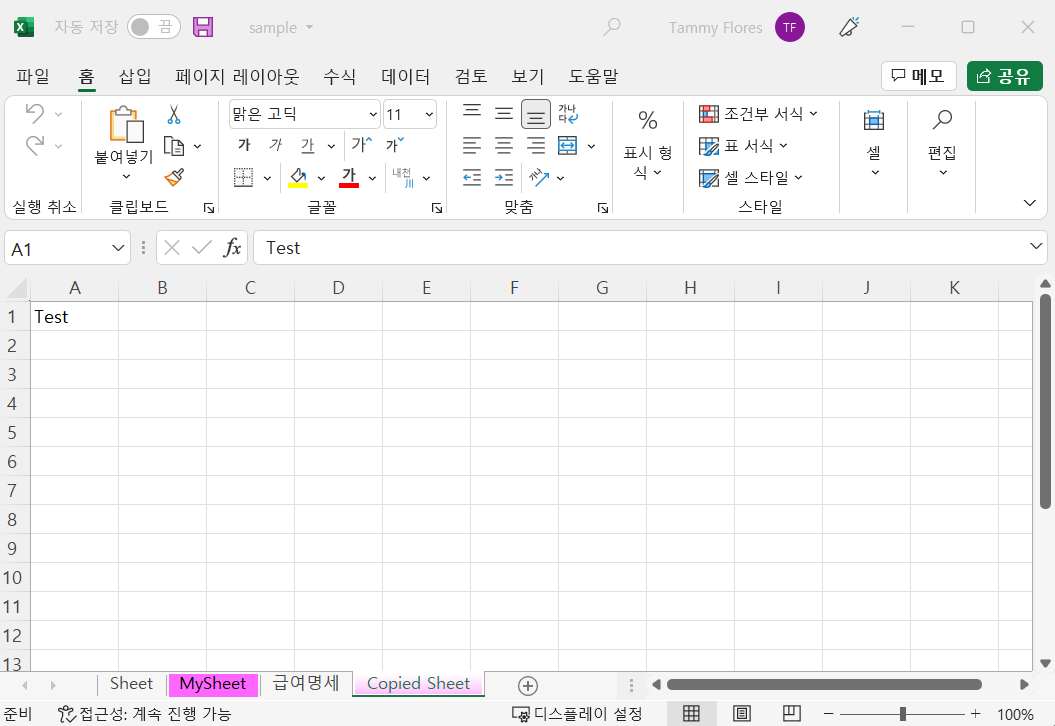
RPAbasic\excel 폴더 - 2_sheet.py
from openpyxl import Workbook
wb = Workbook() # 기본시트 가지고 옴. 없으면 파일 생성 안됨
# 새로운 시트 생성
ws1 = wb.create_sheet() # 새로운 시트 생성
ws1.title = "MySheet"
ws1.sheet_properties.tabColor = "ff66ff" # 시트에 색상
ws2 = wb.create_sheet("급여명세", 2)
# 시트에 접근
# 생성된 시트의 모든 이름 출력
print(wb.sheetnames)
# 기존 시트에 접근하기
new_ws = wb["MySheet"]
new_ws["A1"] = "Test"
target = wb.copy_worksheet(new_ws)
target.title = "Copied Sheet"
wb.save("./RPAbasic/excel/sample.xlsx") # 기존에 파일에 덮어쓸 땐 파일 닫고 실행


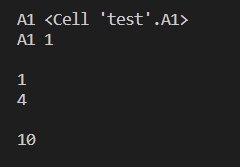
RPAbasic\excel 폴더 - 3_cell.py
from openpyxl import Workbook
wb = Workbook()
# 기본 시트 활성화
ws = wb.active
# 시트 이름 변경
ws.title = "test"
# 셀에 데이터 입력
ws["A1"] = 1
ws["A2"] = 2
ws["A3"] = 3
ws["B1"] = 4
ws["B2"] = 5
ws["B3"] = 6
# 셀 값 가져오기
print("A1", ws["A1"]) # A1 셀의 정보
print("A1", ws["A1"].value)
# ws.cell(row, column)
print(ws.cell(1, 1).value)
print(ws.cell(1, 2).value)
# ws.cell(row,column, value)
# c = ws.cell(1, 3, 10)
c = ws.cell(row=1, column=3, value=10) # 둘다 사용 가능
print(c.value)
wb.save("./RPAbasic/excel/sample.xlsx") # 기존에 파일에 덮어쓸 땐 파일 닫고 실행

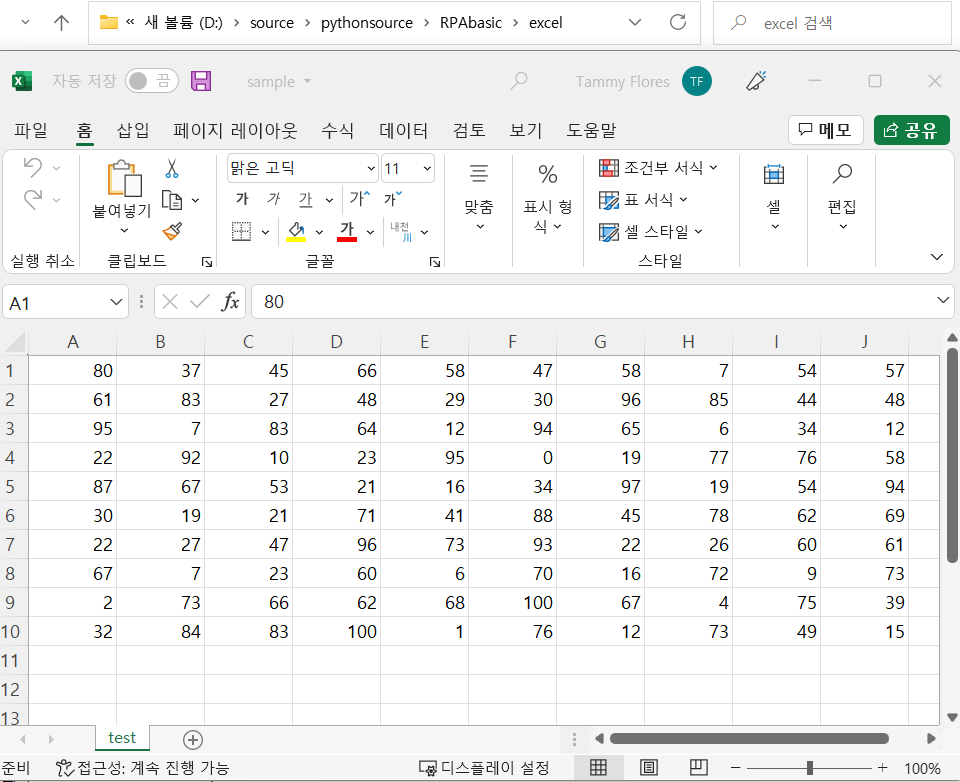
RPAbasic\excel 폴더 - 3_cell2.py
랜덤으로 셀에 값 입력
from openpyxl import Workbook
import random
wb = Workbook()
# 기본 시트 활성화
ws = wb.active
# 시트 이름 변경
ws.title = "test"
# 셀에 데이터 입력 - 반복문
for x in range(1, 11):
for y in range(1, 11):
ws.cell(row=x, column=y, value=random.randint(0, 100))
wb.save("./RPAbasic/excel/sample.xlsx") # 기존에 파일에 덮어쓸 땐 파일 닫고 실행
RPAbasic\excel 폴더 - 4_open_file.py
엑셀 파일 불러오기
# load_workbook : 불러올때
# Workbook : 생성할 때
from openpyxl import load_workbook, Workbook
# 워크북 가져오기
wb = load_workbook("./RPAbasic/excel/sample.xlsx")
ws = wb.active
# 셀 데이터 출력
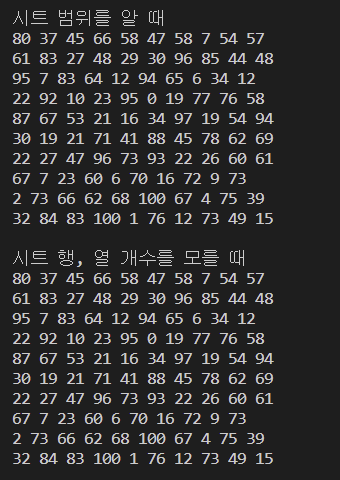
# 내용의 범위를 알 때 사용
print("시트 범위를 알 때")
for x in range(1, 11):
for y in range(1, 11):
print(ws.cell(x, y).value, end=" ")
print()
# max_row / max_column : 시트(데이터)가 가지고 있는 행, 열 개수를 가져오기
print("시트 행, 열 개수를 모를 때")
for x in range(1, ws.max_row + 1):
for y in range(1, ws.max_column + 1):
print(ws.cell(x, y).value, end=" ")
print()
'Python' 카테고리의 다른 글
| Python RPA(업무자동화) 개념 및 실습 - 엑셀(3) (1) | 2022.09.23 |
|---|---|
| Python RPA(업무자동화) 개념 및 실습 - 엑셀(2) (1) | 2022.09.22 |
| Python algorithm 개념 및 실습 - 최대 수익 (1) | 2022.09.20 |
| Python algorithm 개념 및 실습 - 가짜 동전 (1) | 2022.09.20 |
| Python algorithm 개념 및 실습 - 미로 찾기 (0) | 2022.09.20 |
'Python' Related Articles
more


Comments